Getting Started
Learn how to use Smart Asset Finder in 5 minutes.
Build Your Index
Before searching, you need to index your project assets.
First-Time Index Build
-
Click the Index Assets button (top toolbar)
-
The plugin will:
- Scan all assets in
/Gamedirectory - Generate 224×224 thumbnails
- Extract AI feature vectors
- Save the index to disk
- Scan all assets in
-
Watch the progress in the status bar:
- Progress percentage
- ETA (estimated time remaining)
- Asset counts (recognized/pending/failed)
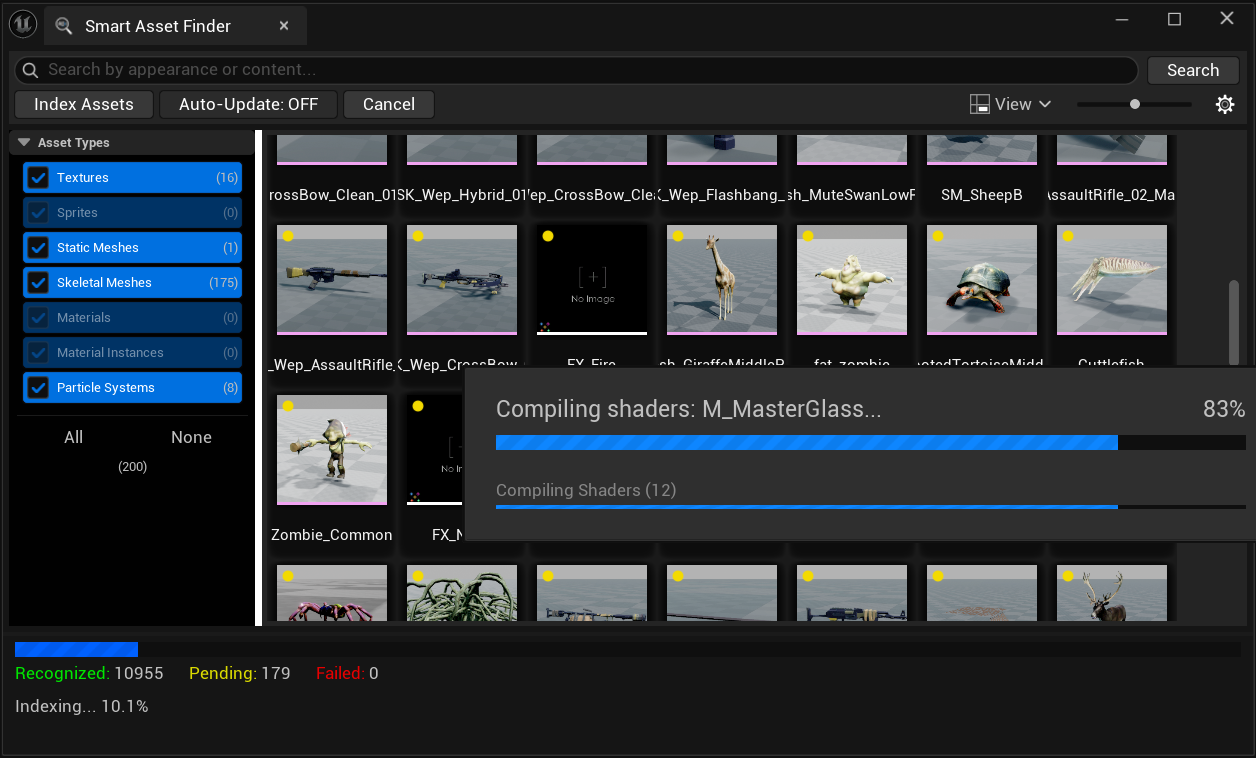
Note on indexing time: Indexing speed depends primarily on thumbnail generation, which requires Unreal Engine to load each asset into memory and render a 224x224 preview. This is the most time-consuming step — especially for meshes, materials, and particle systems. For small projects (~1,000 assets), expect a few minutes. For large projects (10,000+ assets), initial indexing may take 30-60+ minutes. This is a one-time cost; subsequent searches use the cached index.
Auto-Update (Recommended)
Enable auto-update to keep your index synchronized:
- Click the Auto-Update button (turns green when enabled)
- The plugin will automatically:
- Monitor for new/modified/deleted assets
- Update the index incrementally in the background
- Pause during Play-In-Editor (PIE) to avoid performance impact
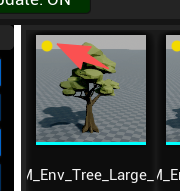
Status indicators:
- 🟢 Green: Auto-update enabled and idle
- 🟡 Yellow: Processing queued assets
- ⚫ Gray: Auto-update disabled
Search for Assets
Basic Search
- Type your search query in the search box
- Press Enter or click Search
- Results appear sorted by similarity score
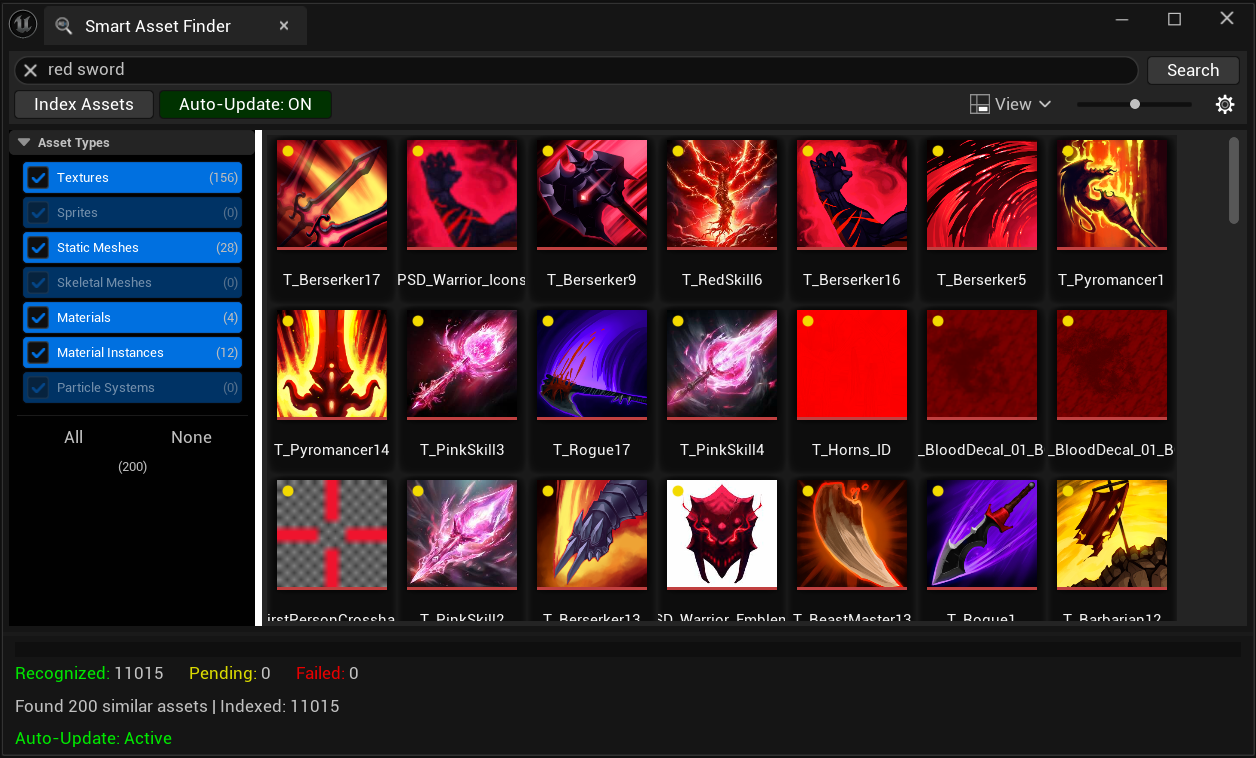
Example queries:
red sword
fire spell effect
stone texture
dark fantasy armor
cartoon character
Search Results
Each result shows:
- Thumbnail: Visual preview
- Asset name: Filename
- Similarity score: How well it matches (0-100%)
- Asset type: Texture, Material, Mesh, etc.
Interacting with Results
- Double-click: Open asset in editor
- Right-click: Context menu with options:
- Open Asset: Open in appropriate editor
- Find in Content Browser: Locate in Content Browser
- Copy Asset Path: Copy full path to clipboard
- Copy Reference: Copy asset reference for Blueprint/C++
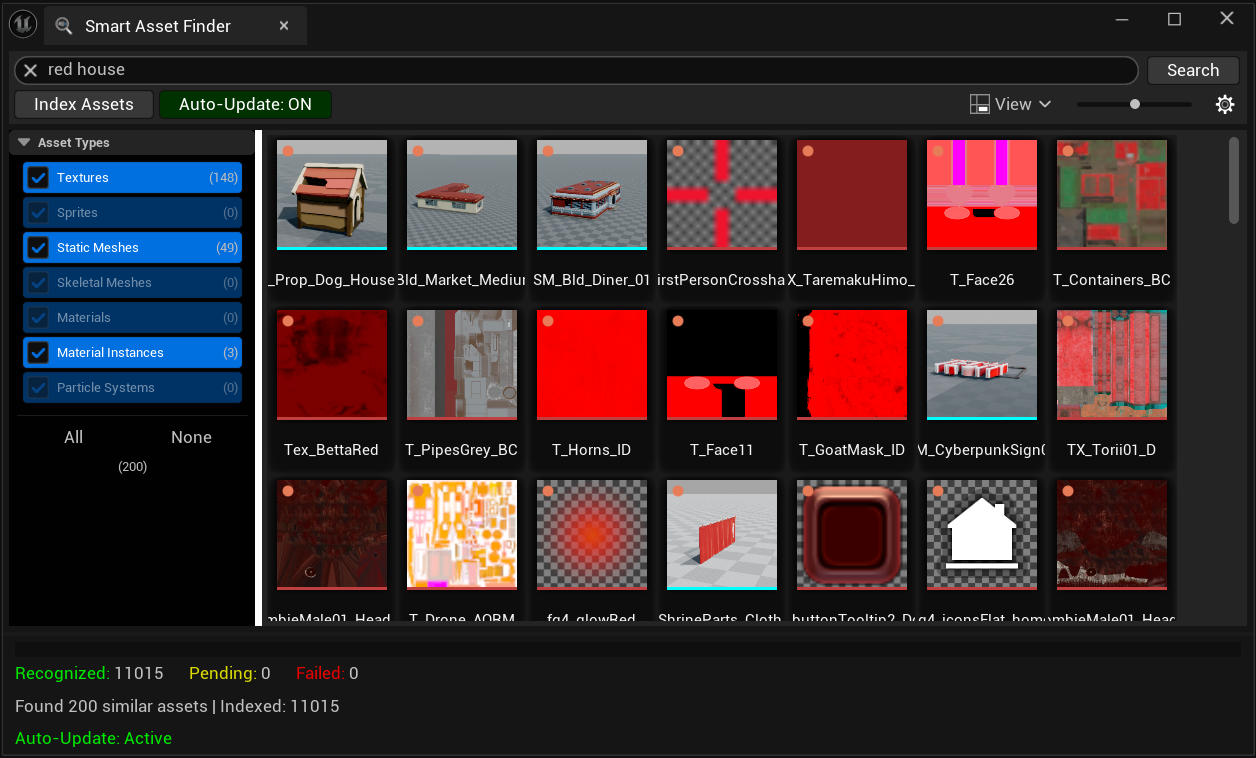
- Drag-and-drop: Drag asset to scene or other panels
Filter Results
Use the left sidebar to filter by asset type:
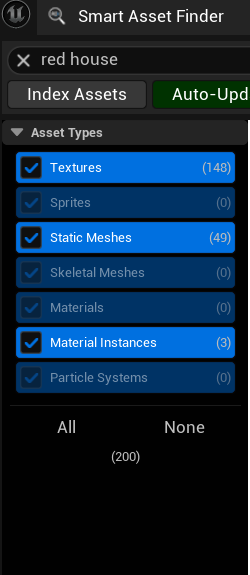
Asset Type Filters
- Textures: Texture2D assets
- Materials: Material and MaterialInstance assets
- Static Meshes: StaticMesh assets
- Skeletal Meshes: SkeletalMesh assets (v2.0+)
- Particle Systems: ParticleSystem and Niagara effects
- Sprites: PaperSprite assets
Filter Controls
- Click a filter button to toggle it on/off
- Select All: Enable all filters (show everything)
- Clear All: Disable all filters (show nothing)
- Filters show asset counts:
Materials (42)
View Modes
Tile View (Default)
- Large thumbnails in a grid
- Best for visual browsing
- Adjustable thumbnail size (slider in toolbar)
Multilingual Search
Search in multiple languages:
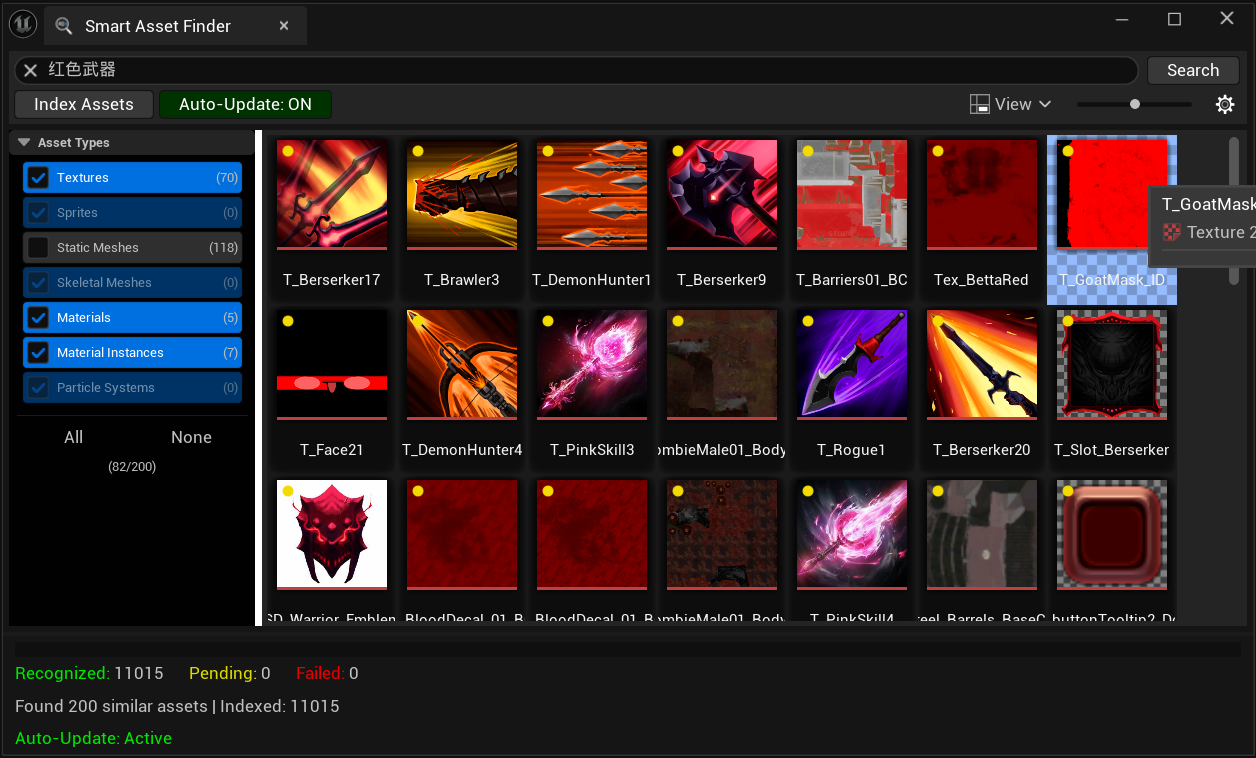
Examples
Chinese:
红色武器        (red weapons)
火焰特效        (fire effects)
石头材质        (stone materials)
Japanese:
赤い剣          (red swords)
炎のエフェクト   (fire effects)
石のテクスチャ   (stone textures)
Korean:
빨간 무기       (red weapons)
불 효과         (fire effects)
돌 재질         (stone materials)
French:
épée rouge      (red sword)
effet de feu    (fire effect)
texture pierre  (stone texture)
No configuration needed—just type in your language!
Pro Tips
1. Use Descriptive Queries
Good queries:
- “weathered stone wall”
- “glowing blue magic crystal”
- “rusty medieval armor plate”
Less effective:
- “texture”
- “asset”
- “thing”
2. Try Different Phrasings
If results aren’t what you expected, rephrase:
- “fire effect” vs “flame spell”
- “red sword” vs “crimson blade”
- “stone texture” vs “rock material”
3. Adjust Thumbnail Size
- Large thumbnails: Better for visual identification
- Small thumbnails: See more results at once
- Use the slider in the toolbar
4. Leverage Auto-Update
- Leave auto-update enabled during iteration
- It processes changes in the background
- No need to manually rebuild after importing new assets
5. Use Filters for Precision
- If you know you’re looking for a material, enable only “Materials” filter
- Disable asset types you don’t need
- Faster results scanning with fewer items
Common Workflows
Finding Reference Assets
- Search: “medieval stone wall”
- Filter: Enable only “Textures” and “Materials”
- Browse results in Tile View
- Drag desired asset to your material editor
Organizing Imported Assets
- Import batch of new assets
- Auto-update will process them automatically
- Search: “character face” to find all character textures
- Right-click → Find in Content Browser to organize
Discovering Forgotten Assets
- Search: “blue magic”
- Browse the results
- Discover assets you forgot you had!
Next Steps
- Configuration - Customize plugin settings
- Features - Deep dive into all features
- FAQ - Troubleshooting and tips